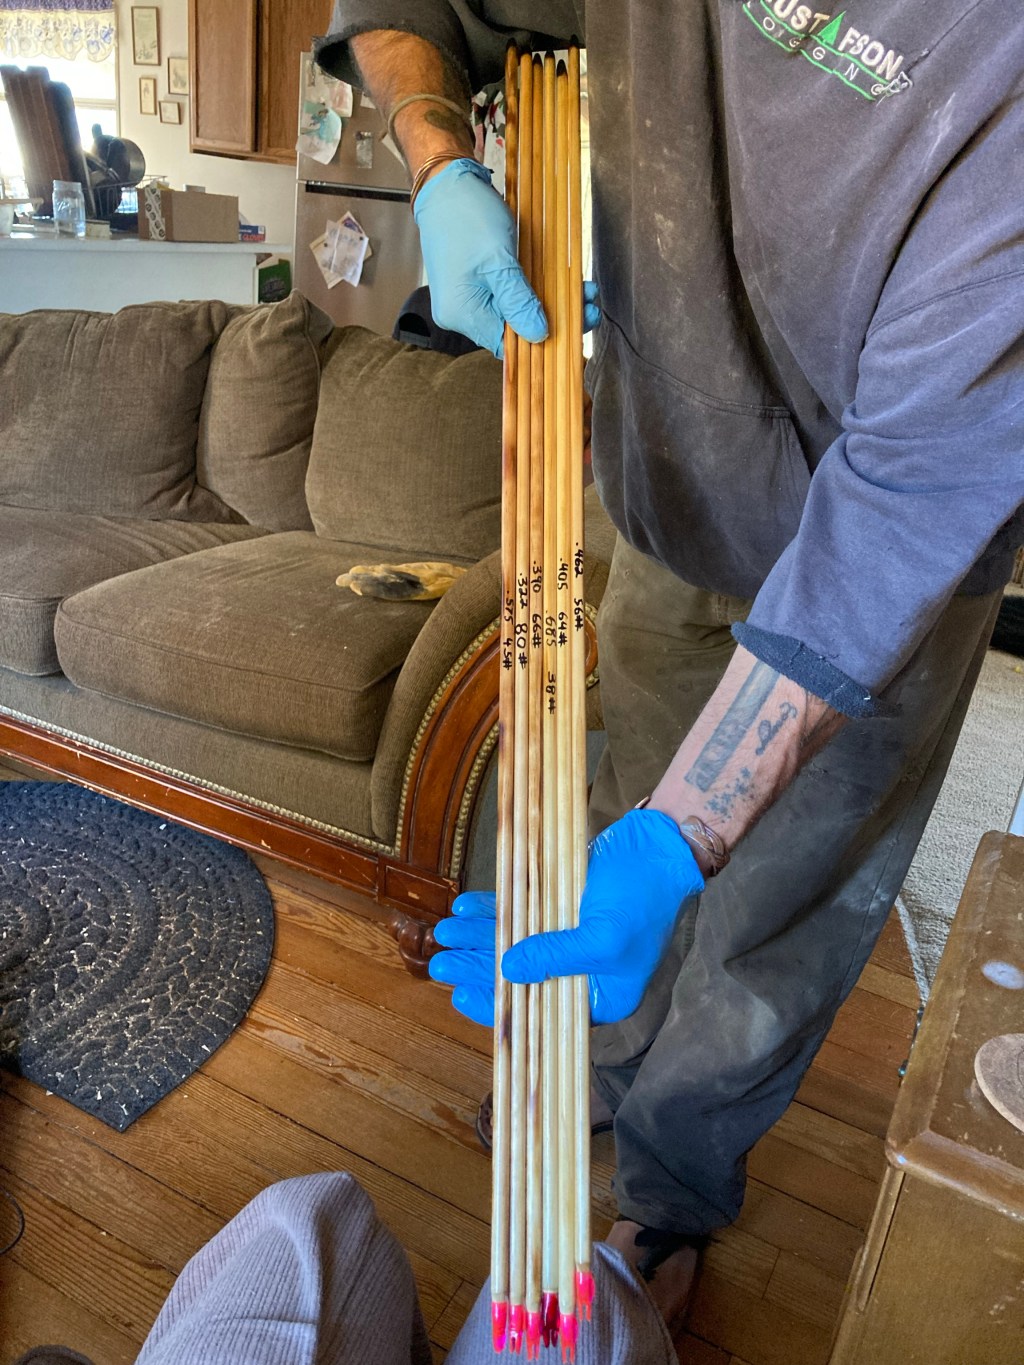
Once you have shot your Rock Shoot’n arrows sample pack for a while, which is a mix match of however each tree presumably spined in that individual dowel.
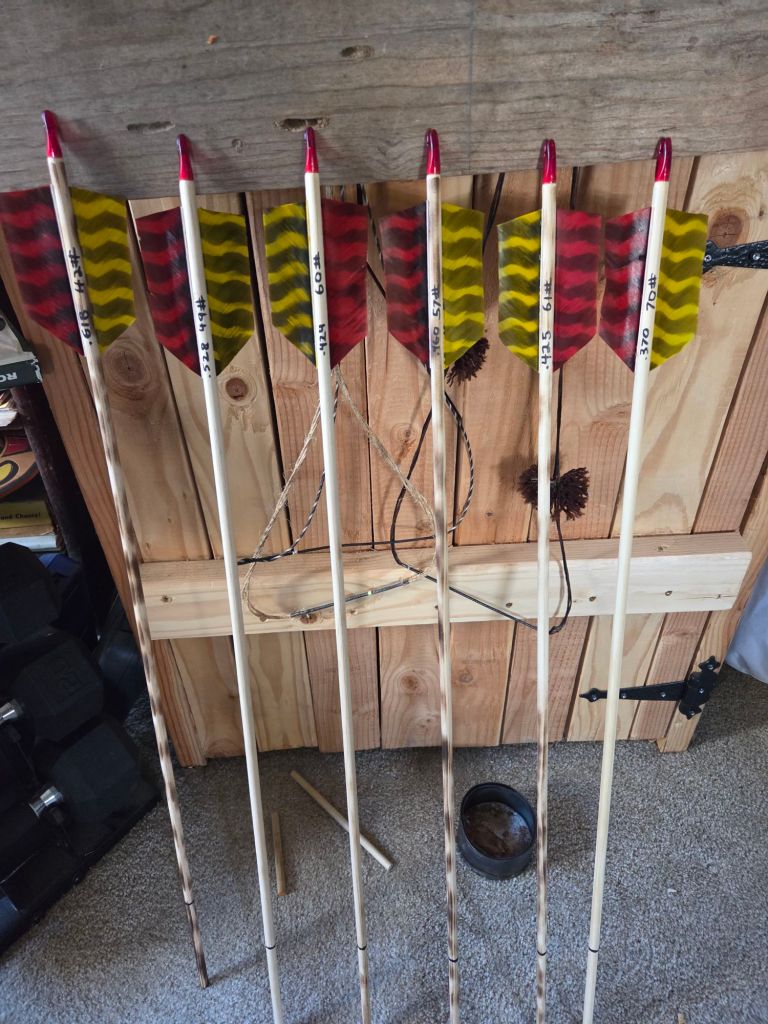
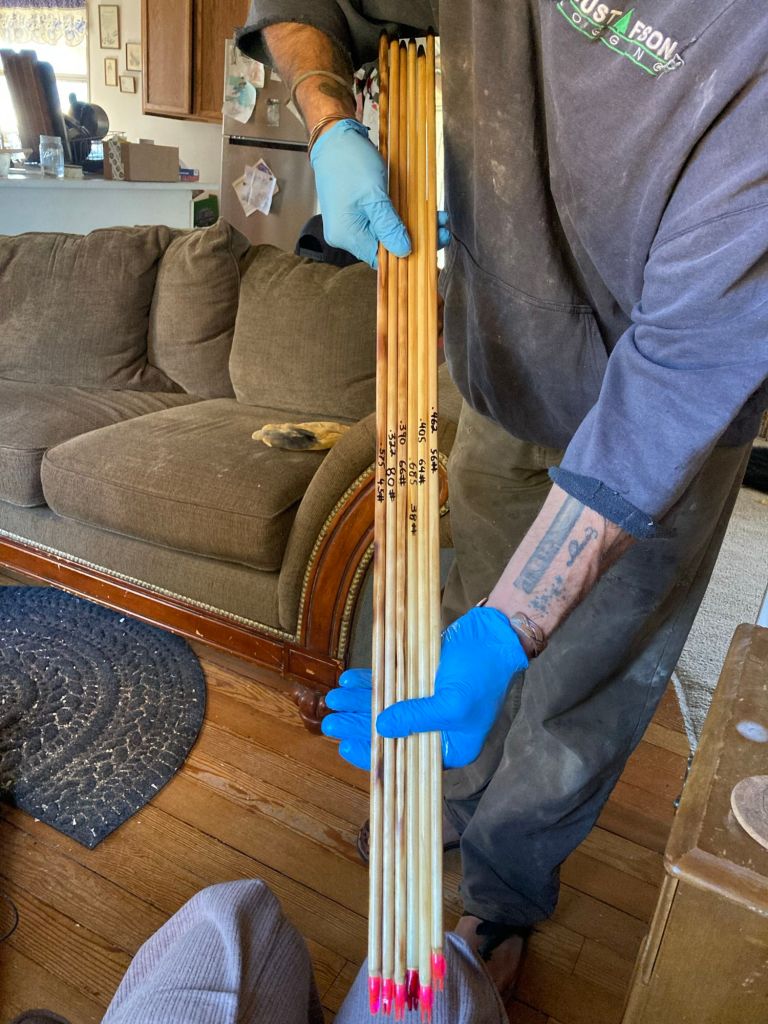
Since the spine weights are written on Rock Shoot’n arrows you may even have a favorite picked out. To make the other arrows from your kit “spine” the same as your favorite, follow this instructional.
_____________>>===>____________<===<<__
To make a stiff arrow match a lesser spine:
Let us use 50# because I have memorized that .620 is a 50# arrow. You want your 65# arrow to match that 50# flight pattern.
You can do this by increasing the weight at the tip of the arrow by gluing on commercial field points. You may need to whittle the end down or sand until it fits into an 11/32 arrow tip, and you may want to test fire before committing to a weight.
________________>>~>_______
Arrow too bendy:
So you have an arrow that is too weak. Rock Shoot’n arrows come long, to make up for forward of center weight without the waste of the steel tip. You can cut this back and re-dress the tip in this manner in 1 inch increments until a too bendy arrow stiffens up and shoots straight.
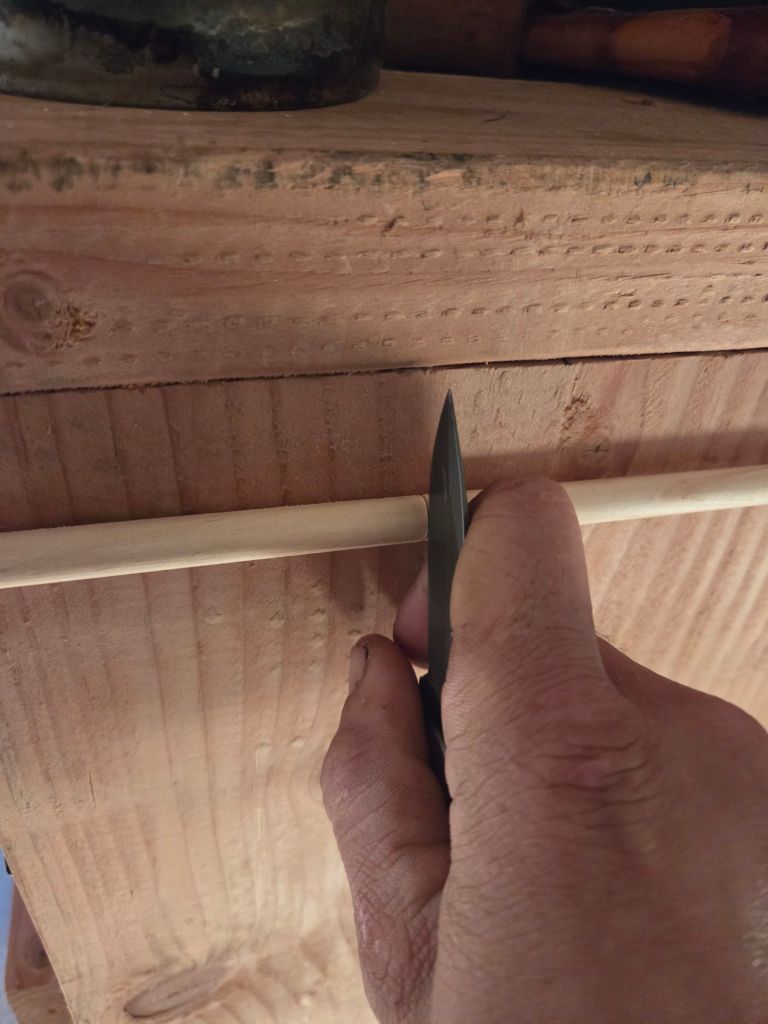
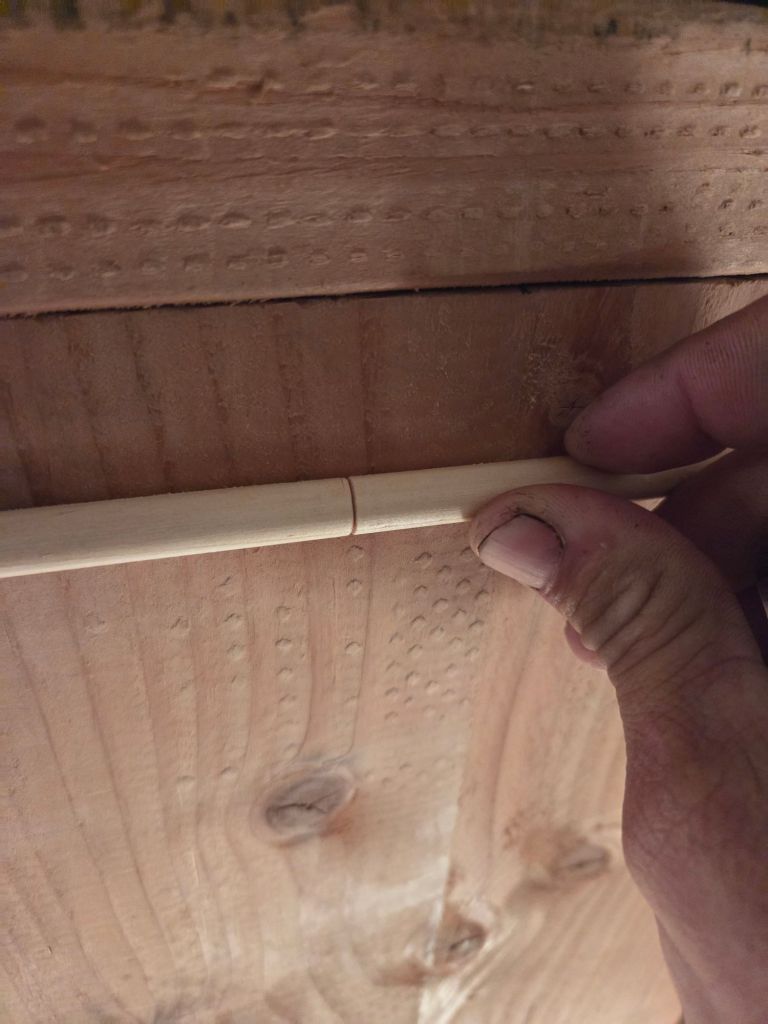
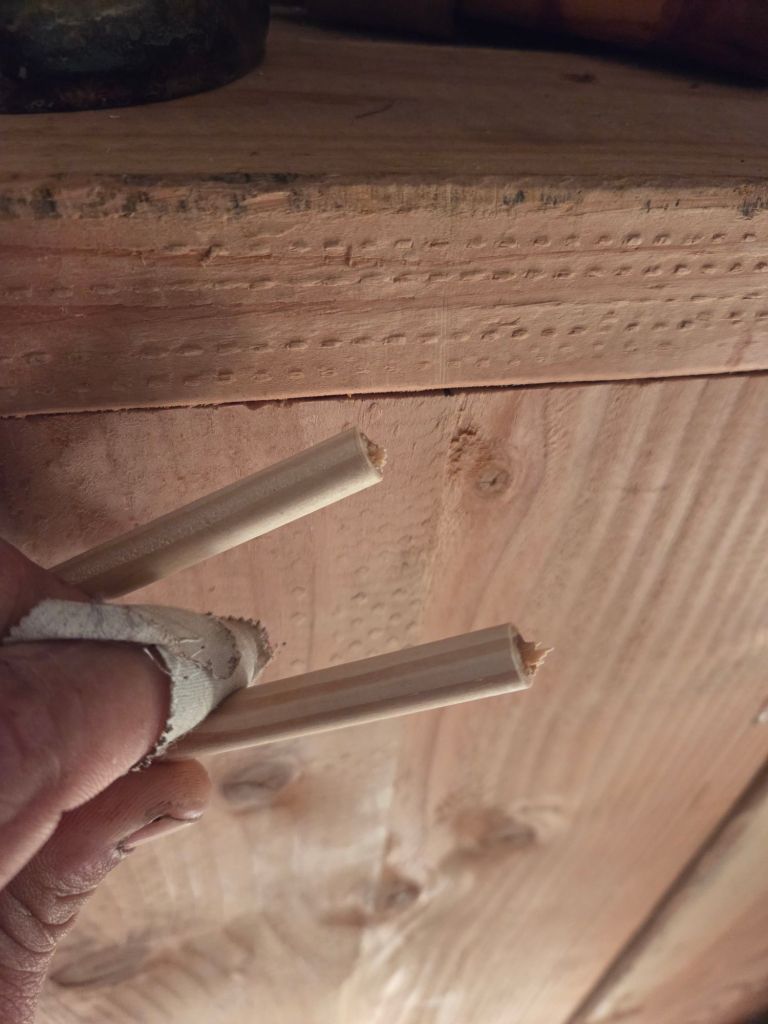
Next you take a thick leather glove or oven mitt, and a propane torch.
Note: I recommend breathing protection, due to the burning arrow finish, or sanding off the finish when burning the tips. The finish wears off of the front 18 inches or so, anyways. This occurs from the hay bales and this abrasion burnishes the shafts. The finish is only applied for above where this burnishing occurs.
Turn the shaft angled towards the flame until it chars, and then wipe this onto the palm of the glove being careful not to burn your hand.
Do this a few times until the tip is burnished to a nice fire hardened point, as before.
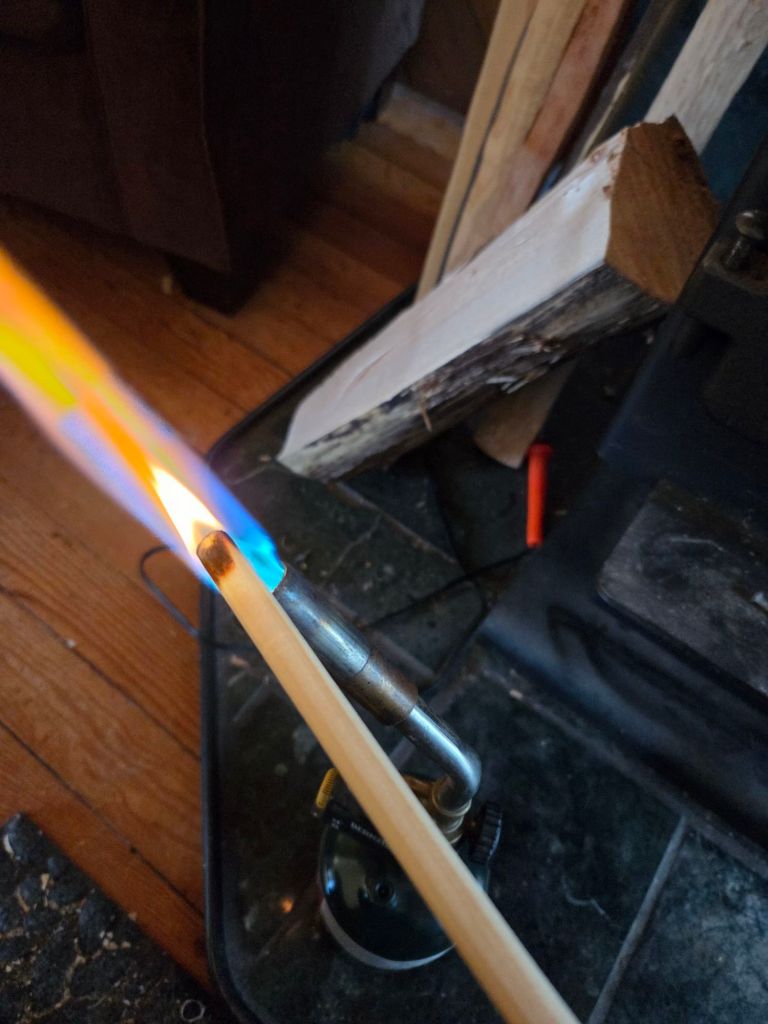
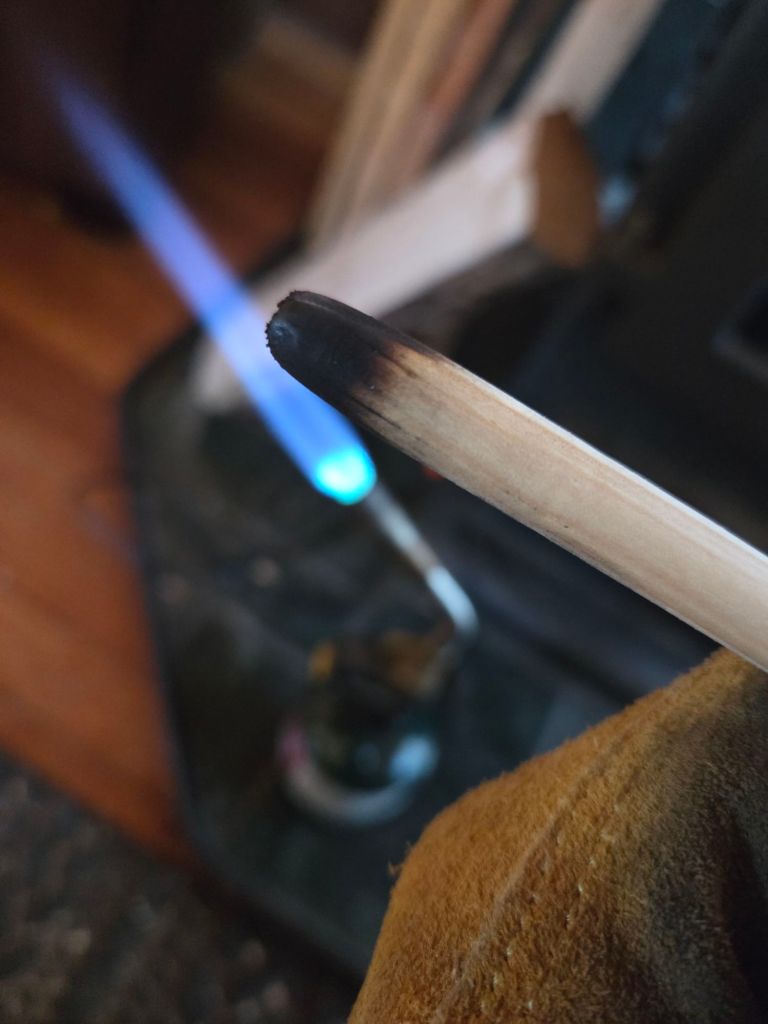
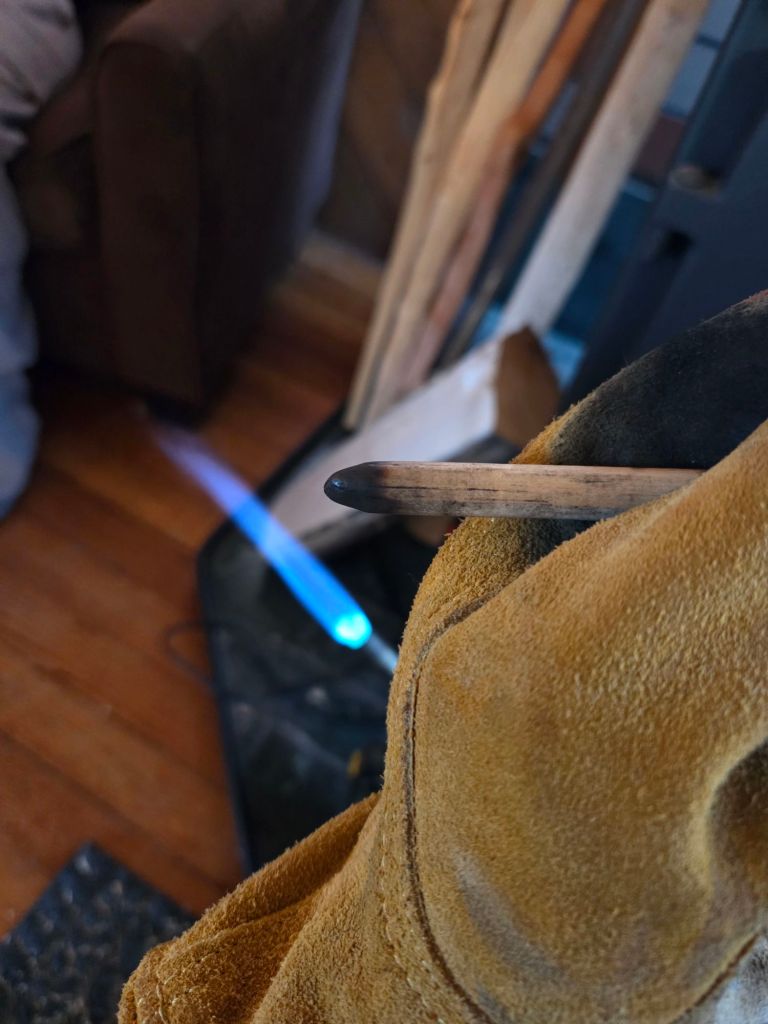
You can also use this method to repair the tips. If small damages occur due to striking trees or dirt or sometimes even rocks, you can either whittle it sharp again, or just burn it again, which loses less length.
_______________________ ) >>===>
Failing both above:
You can sand the shaft down to a more serviceable stiffness if you must, but please wear respiratory protection and be careful to not go too far, and always look for defects.
Arrows cannot be stiffened by any means that I know of, except maybe epoxy resin and fiberglass, but it would be far cheaper and easier to just save these Rock Shoot’n arrows as a test kit and order a set of my Spined Arrows which can be found on this page:


Leave a comment